A statement wall has one job: to anchor the room.
When done right, it becomes the first thing people notice and the element everything else in the space revolves around. But most homeowners and contractors approach it backwards. They start by picking a material instead of thinking through the design.
That’s why so many wood accent walls end up looking flat, busy, or disconnected from the rest of the space.
Designing a statement wall with custom wood planking is different. It allows you to control scale, layout, and proportion so the wall feels like part of the architecture — not an afterthought.
This guide will walk you through how to design it correctly from the start.
What Makes a Wood Statement Wall Work
A statement wall isn’t just about contrast, it’s about intention.
Wood works so well because it introduces natural variation, depth, and warmth in a way that paint simply can’t. The grain, the seams between boards, and the subtle changes in tone all contribute to a surface that feels alive.
But the real reason wood planking stands out is because it adds structure without adding bulk. You’re not rebuilding the wall, you’re redefining how it’s experienced.
When designed properly, a wood wall can:
- Create a focal point without overwhelming the space
- Add dimension to otherwise flat rooms
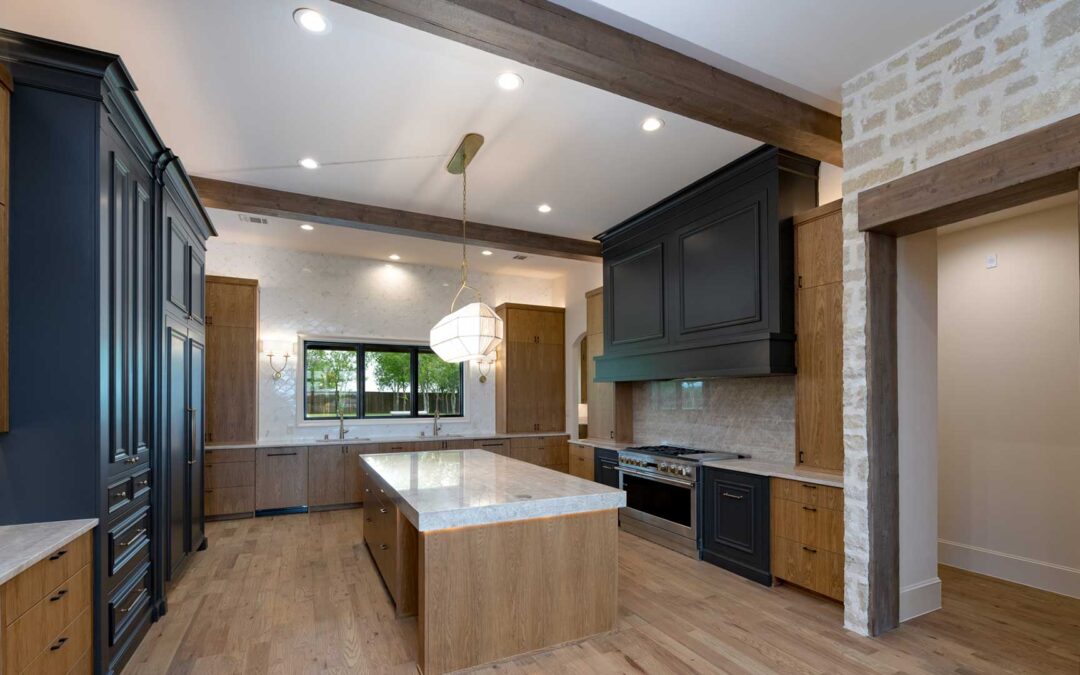
- Tie together flooring, beams, and cabinetry
- Elevate the perceived quality of the entire home
The key is making decisions that support the room — not compete with it.
Accent Wall vs. Full-Room Coverage
One of the first design decisions you’ll make is how much of the space to cover. This isn’t just a budget question, it’s a design strategy.
Wood Plank Accent Walls
An accent wall is the most common approach because it creates contrast. By keeping three walls neutral and highlighting one, you naturally draw attention to a specific area of the room. This works especially well in spaces where there is already a focal point, such as a fireplace, a bed, or a media wall.
Accent walls are ideal for:
- Living rooms centered around a fireplace or TV
- Bedrooms where the headboard wall becomes the feature
- Entryways that need a strong first impression
Full-Room Wall Planking
On the other hand, full-room coverage creates immersion. Instead of highlighting one surface, it wraps the entire space in texture and warmth. This approach works best in rooms where you want a more intimate or elevated feel.
Full coverage is often used in:
- Home offices or studies
- Dens or smaller living spaces
- Cabin-style or rustic interiors
The important thing to understand is this: the more surface area you cover, the more important your design restraint becomes. Simplicity wins when the material is repeated across multiple walls.
Horizontal vs. Vertical Planking: Changing How a Room Feels
The direction of your planks does more than change the look — it changes how the room is perceived.
Horizontal planking tends to make a room feel wider and more grounded. It visually stretches the space, which is helpful in larger rooms or areas that already have strong horizontal lines, like long furniture layouts.
Vertical planking, on the other hand, draws the eye upward. It emphasizes height and creates a more modern, architectural feel. This is especially effective in rooms with lower ceilings or when you want the wall to feel more structured and intentional.
When deciding between the two, it helps to think in terms of the effect you want to create:
- Choose horizontal planking if you want the space to feel wider and more relaxed
- Choose vertical planking if you want the space to feel taller and more refined
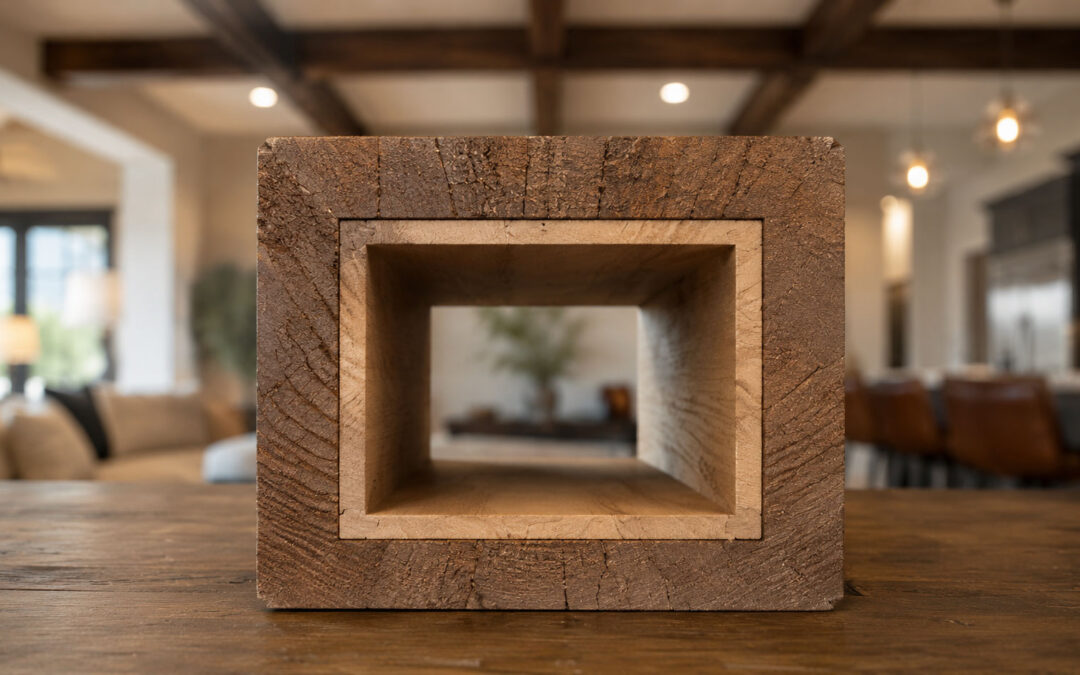
Custom fabrication plays a critical role here. Standard materials often force awkward seams or inconsistent spacing, while custom-milled planks allow the layout to align perfectly with your wall dimensions.
Mixing Plank Widths for a More Custom Look
Uniform boards are predictable. And predictable rarely stands out.
One of the simplest ways to elevate a wood wall is by introducing variation in plank width. This creates a rhythm across the wall that feels intentional and custom — not repetitive.
Instead of using a single board size, consider combinations like:
- Alternating narrow and wide planks
- Using three widths in a repeating pattern
- Randomizing widths for a more organic, rustic feel
This approach adds depth without adding complexity. It gives the wall movement while still keeping the overall design clean.
This is where working with a custom fabricator like Green Valley Beams & Truss becomes valuable. You’re not limited to standard dimensions, you can design the layout around the space, not the other way around.
Integrating Wood Planking with the Rest of the Room
A statement wall should never feel isolated. It should connect to the rest of the space in a way that feels cohesive.
One of the most effective ways to do this is by pairing planking with architectural elements.
For example, you might incorporate:
- Decorative beams to create structure and continuity
- Trim or framing details to define the edges of the wall
- Built-ins or shelving that integrate directly into the planked surface
These elements help the wall feel like part of the home’s design language, rather than a standalone feature.
Consistency matters here. Matching wood species, tones, and proportions across elements ensures the space feels unified.
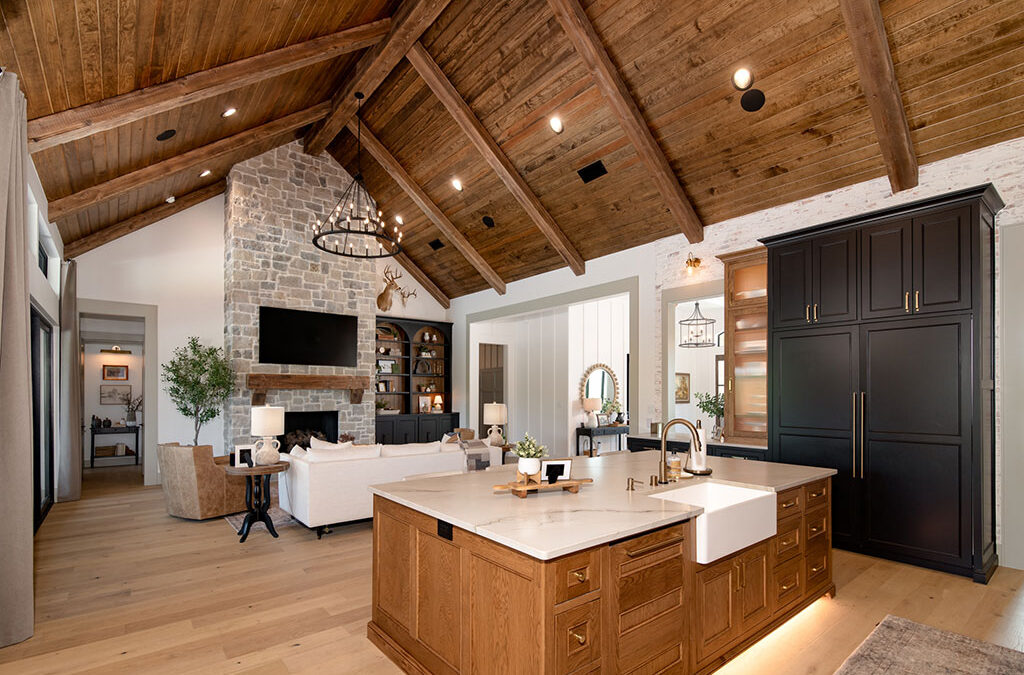
Real-World Statement Wall Layouts That Consistently Work
While every home is different, there are a few layout approaches that consistently deliver strong results.
1. Fireplace Feature Wall
Extending wood planking from floor to ceiling around a fireplace creates a natural focal point and adds vertical emphasis.
2. Clean TV Wall
Using vertical planks behind a mounted TV keeps the design simple while adding texture.
3. Bedroom Headboard Wall
A wood wall behind the bed adds warmth and depth without overwhelming the space.
4. Office Backdrop
A planked wall behind a desk creates a polished, intentional environment — especially useful for video calls.
5. Entryway Statement Wall
This sets the tone immediately and creates a strong first impression.
Each of these works because the wall supports how the room is used.
Choosing the Right Finish and Overall Look
Material selection isn’t about picking from a list — it’s about designing the final look of the wall so it fits the space it’s going into.
With a custom wood planking system, the focus shifts from “what species do I pick?” to “what do I want this wall to feel like?”
That decision is driven by a few key factors:
How the Room Feels Today
Start by evaluating the existing space:
- Is the room already bright or does it need warmth?
- Are there strong design elements (flooring, beams, cabinetry) to match or complement?
- Is the goal to create contrast or continuity?
The statement wall should either anchor the room or tie it together — not compete with it.
Light vs. Dark Finishes
Finish tone has one of the biggest visual impacts on the final result.

Lighter Finishes
Lighter finishes help keep spaces open, clean, and modern
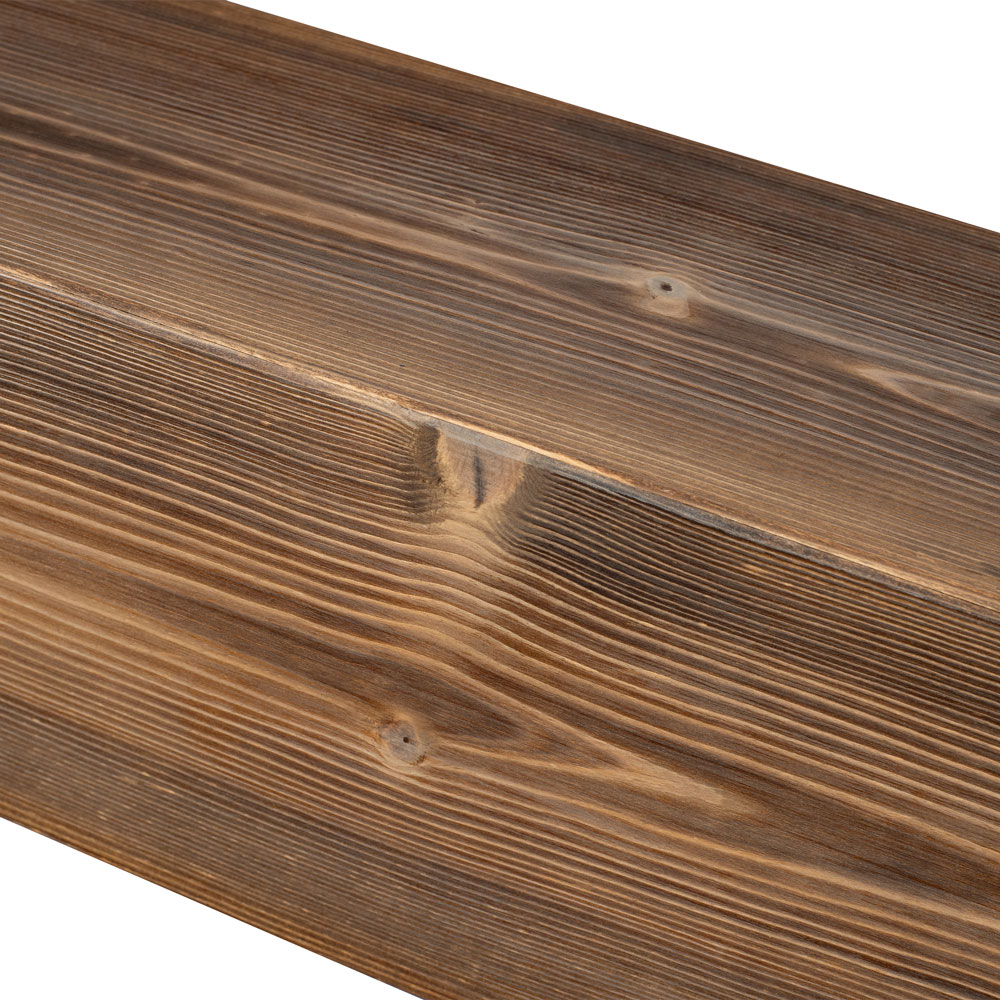
Mid-Tone Finishes
Mid-tone finishes add warmth and balance without overwhelming the room

Darker Finishes
Darker finishes create contrast and drama, but require enough natural or artificial light to avoid feeling heavy
In most cases, the right finish isn’t about preference, it’s about how it interacts with the lighting and scale of the room.
Matching vs. Contrasting
A well-designed wall either blends seamlessly or intentionally stands apart.
- Matching finishes create a cohesive, unified look across beams, floors, or cabinetry
- Contrasting finishes make the wall the focal point and draw attention immediately
Both approaches work but they need to be decided upfront so the wall feels intentional.
Why Custom Fabrication Matters Here
This is where custom fabrication becomes critical.
Instead of forcing your design into pre-determined materials, the planking system is built to align with:
- The exact dimensions of your wall
- The layout and proportions you’ve chosen
- The overall design direction of the space
That level of control ensures the final result feels cohesive, not pieced together from mismatched components.
Common Mistakes to Avoid
Even a well-intentioned design can fall short if the execution isn’t right.
The most common issues come from treating the wall like a quick upgrade instead of a design feature.
Avoid:
- Skipping layout planning before installation
- Using inconsistent or poorly milled materials
- Choosing finishes that clash with flooring or cabinetry
- Overcomplicating patterns without a clear design goal
The more visible the wall, the more these details matter.
Designing a Wall That Feels Intentional
A wood plank statement wall should feel like it was always meant to be there.
That comes down to thoughtful decisions not just materials. Layout, proportion, and integration all play a role in how the final result is perceived.
When those elements align, the wall doesn’t just stand out — it elevates the entire room.
Ready to Bring Your Wood Planking Statement Wall to Life?
Once you’ve defined the look and layout of your statement wall, the next step is choosing materials that will execute that vision cleanly and consistently.
A custom-fabricated wood planking system helps ensure:
- Precise dimensions that fit your wall exactly
- Consistent milling for a clean, professional finish
- A cohesive look that aligns with the rest of your space
When you’re ready to move forward, explore custom wood planking options from Green Valley Beams & Truss and get the materials built to match your project specifications.